Week 5 Student Blog Challenge
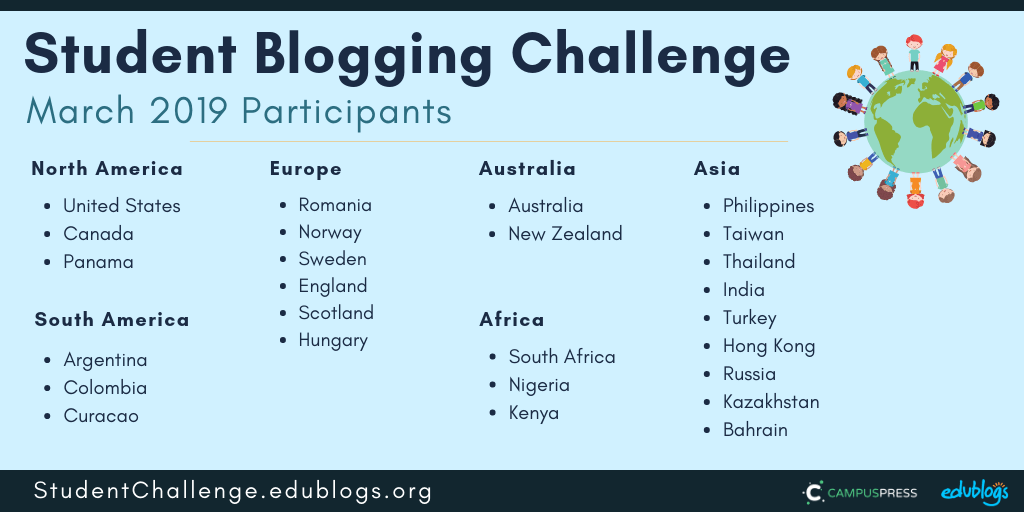
WEEK 5: SCHOOLS AROUND THE WORLD
We’re almost halfway through the Student Blogging Challenge!
This week we’re looking at the fascinating topic of school around the world. I wonder how your school is similar or different to others?

Week Four Recap
 There were hundreds of great posts submitted again by classes and students.
You can find them all here (or click on the orange week 4 box on the sidebar).
Let’s take a look at just some of the fantastic work we spotted last week:
- Serge Galligani’s class in France made a terrific video about Earth Hour which they translated into English.
- SathePrincess14 from India wrote a post about Holi The Colourful Festival.
- Alex from the UK told us about his family and he’d love to hear a bit about your own family.
- Xyza and Mr. Mike’s class from Thailand wrote about planting their own produce.
- Micah from Panama wrote about a bird called the rufous-crested coquette.
- Miss Blessing’s young students in Vermont USA have been writing some great poems. Here are some examples from Bunny Jumper, Bee Buzzer, and Lead Dog. I love the way they include photos of their drawings.
- Mackenna is a third grader who invites you to sprinkle kindness.
- Sophia from Pennsylvania, USA is rhinestone crazy and is happy to answer questions about rhinestones.
- Mrs. Yollis and her 3rd grade students continue to be STUBC role models. I encourage teachers to read this post about how Mrs. Yollis helped a student find an audience. Also, check out some of the excellent posts on the blog sidebar.
- You can view more great work on our 2019 Student Blogging Challenge Flipboard.
Reminders
Here are a few important reminders:
- The Google Forms for week 1 and week 2 are now closed. You can still submit posts in the Google Forms for weeks 3 and 4 if you’re catching up.
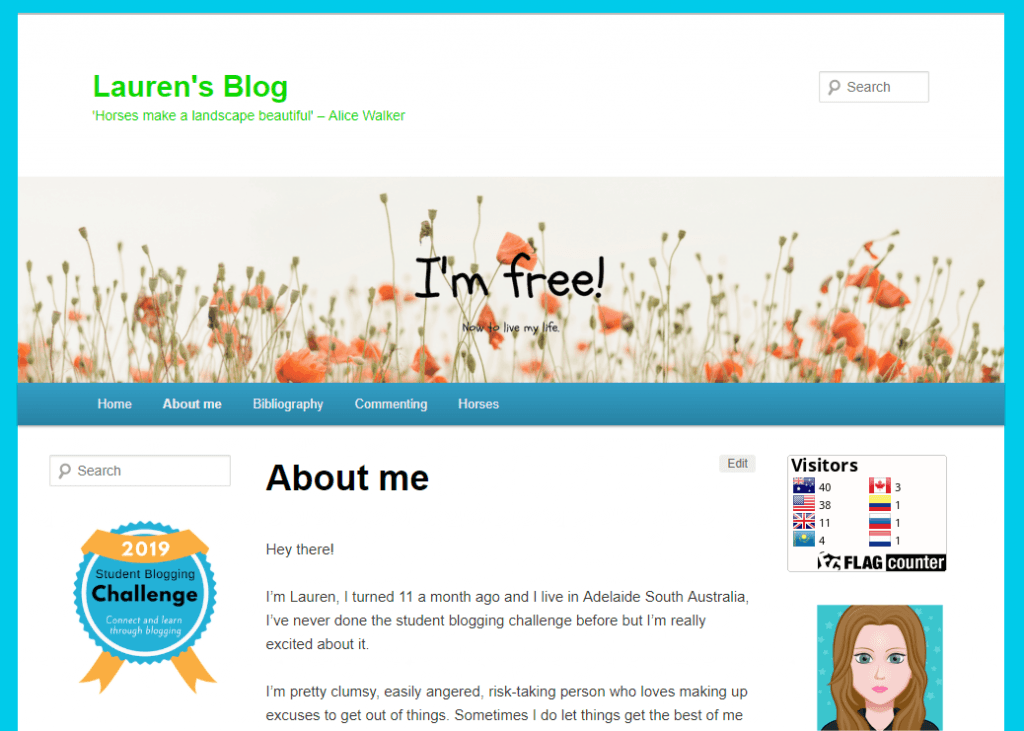
- I’ve been visiting lots of blogs that don’t have an About page. This is so important. It doesn’t have to be long but please tell your visitors who you are and where you’re from (pen names are fine and you don’t have to be too specific with your location but at least include your country). Revise the steps to creating an About page in our week one post.
- Please keep approving comments quickly. You might be missing out on some great connections!
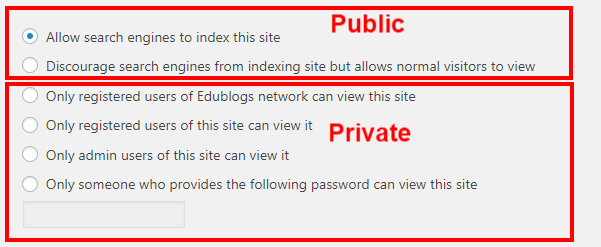
- Remember if you’re adding Google Doc/Form/Slide presentations in your post, please check these are public so others can see them. You’ll find the instructions here.
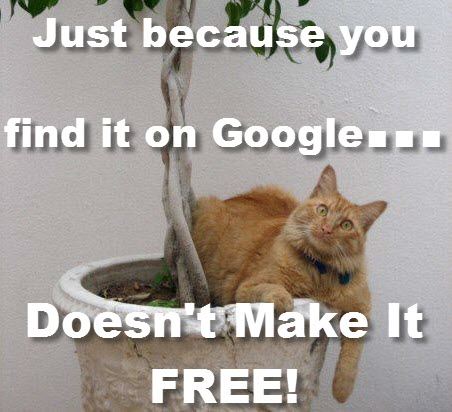
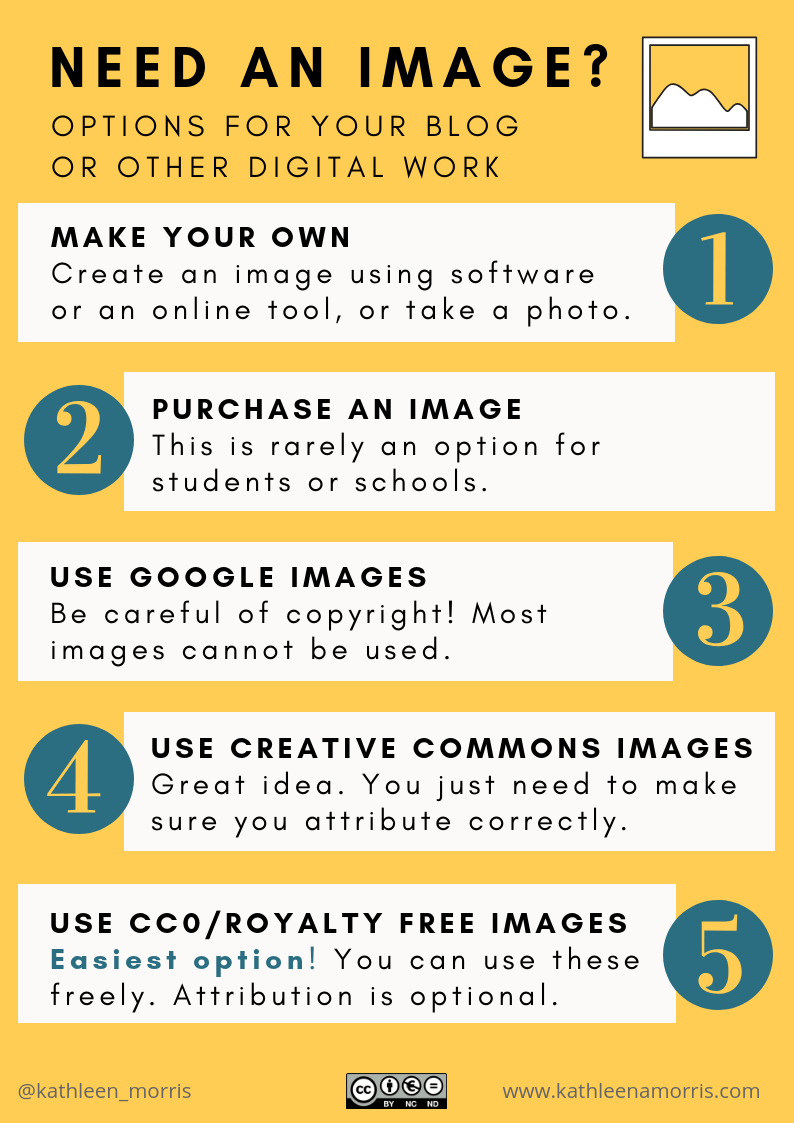
- Do your posts have images? Images make posts much more shareable and they stand out a lot more on our Flipboard magazine. Remember, as we discussed in week 3, you can’t just use any image you find on the web, however, there are lots of options available to you.
- Posts that are proofread and written in short paragraphs are much easier to read! Need help with proofreading? Try a free tool like Grammarly. Note: Grammarly is 18+ but if you’re aged between 13-17, you can use it with permission.
A Special Thank You
Our hardworking commenting team leader, Sue Wyatt, is currently travelling and has a broken iPad.
I’d like to offer a special thanks to Sheri Edwards who is checking our students’ work and managing the spreadsheets while Sue is away. We appreciate you!
Be sure to check out Sheri’s great blog as she has some excellent posts that will help teachers and students.
For example:
- Poetry Invitation
- STUBC Avatars Google Drawing Tips
- What’s a Blog Post?
- Sharing Hobbies
- Your Photography Tells a Story
Let’s Learn About School Around The World
Whenever my own students have connected with other classes through blogging, Skype, or other projects one thing they’ve been really fascinated is school.
It’s funny how schools can be very similar in some ways but also very different!
What sort of school do you go to?
- Primary/elementary school?
- Middle school?
- High school?
- International school?
- Home school?
- Private school?
- Public school?
- Religious school?
- We even have some participants in college
Let’s take a quick look at how school varies around the world.
Video
This video from INSIDER shows what school looks like in 27 countries around the world. Was your country included? Did it look accurate or not?
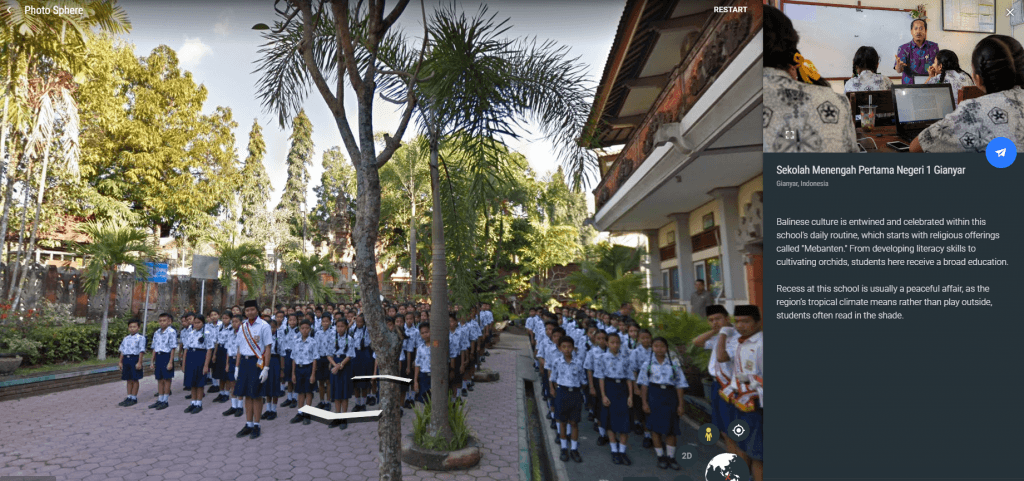
Google Earth Show
To learn more about school around the world, check out this show on Google Earth called This Is School. From London to the Himalayas, you can explore classrooms around the world in Street View.
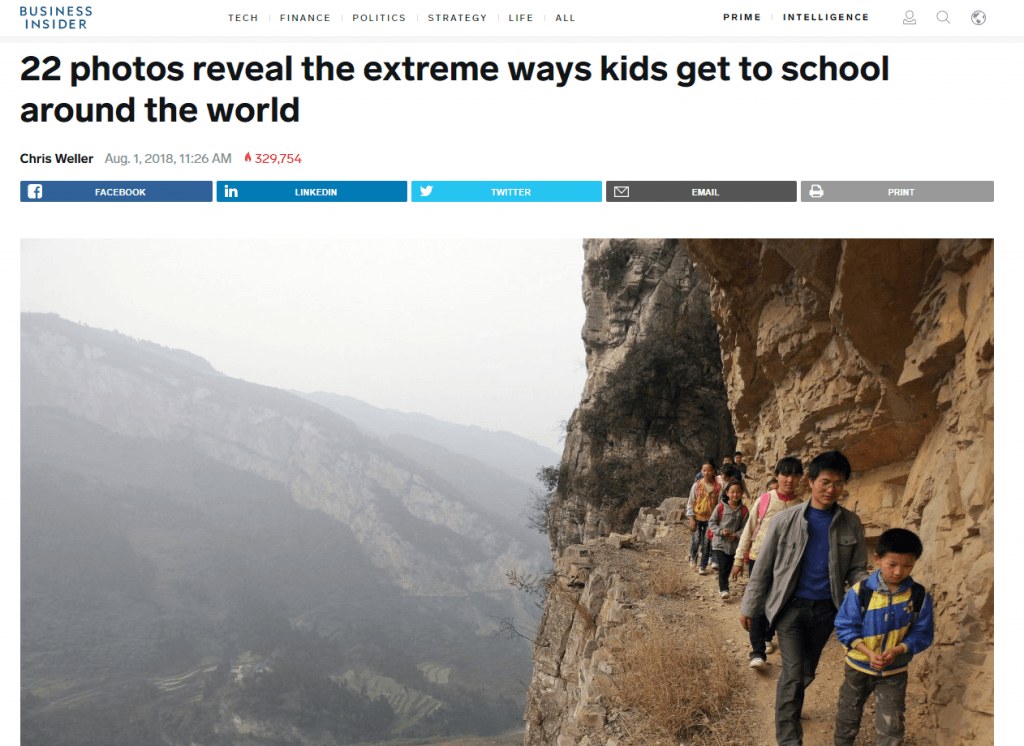
Getting To School
This article on Business Insider shows some amazing photos of how students around the world get to school.
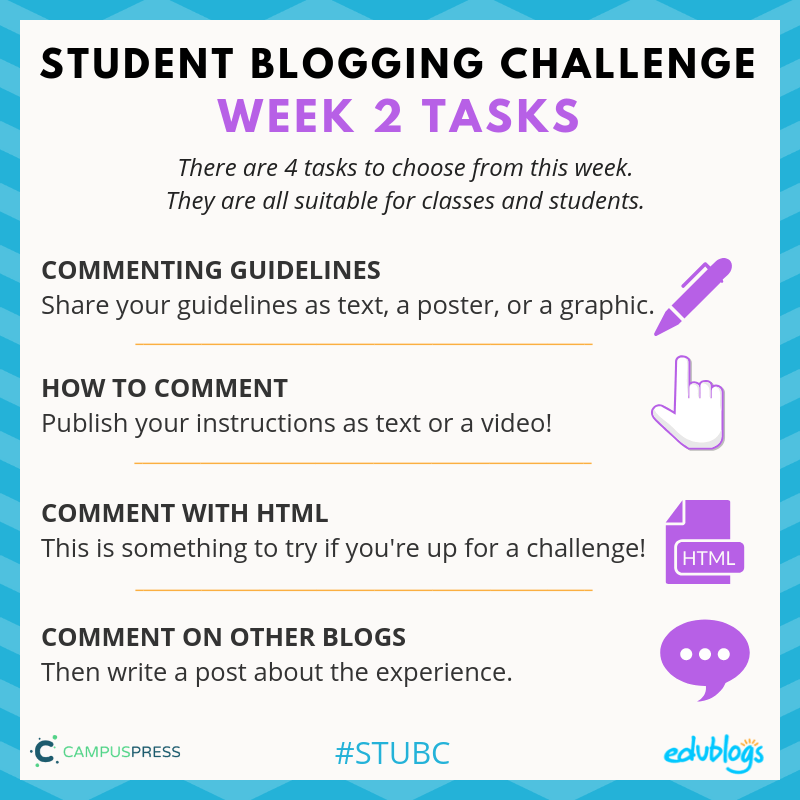
Week Five Tasks
This week you can choose from a list of 8 ideas to create a post about school. Or you can come up with your own idea!
Thanks to Sue Wyatt who came up with many of these ideas for previous challenges.
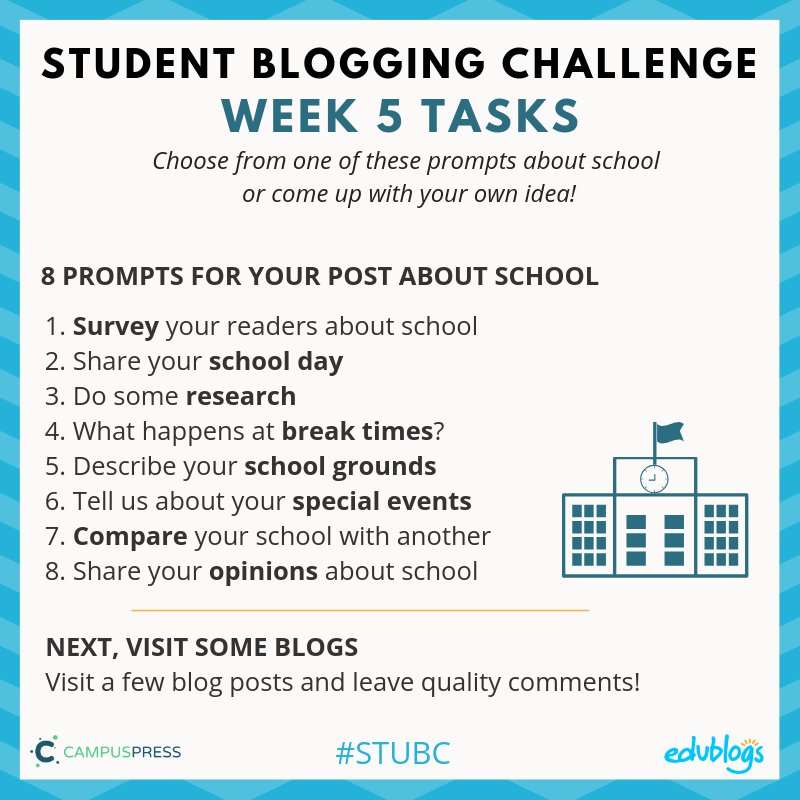
8 Prompts For Your Post About School
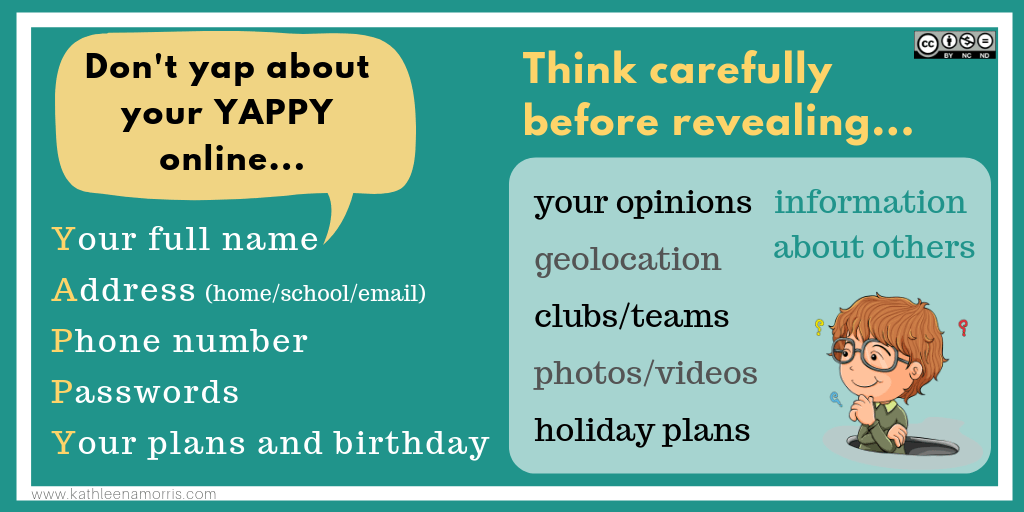
Safety First!
💡 Remember it’s important to think carefully about what information we publish online.
- Students should check with their teacher about whether it’s okay to mention their school name. If not, you might just like to tell people your state/country.
- Another thing to consider is writing about your plans (e.g. instead of saying “I have karate lessons at the town hall at 4pm on Thursdays” try “I enjoy weekly karate lessons”).
Now onto the ideas…
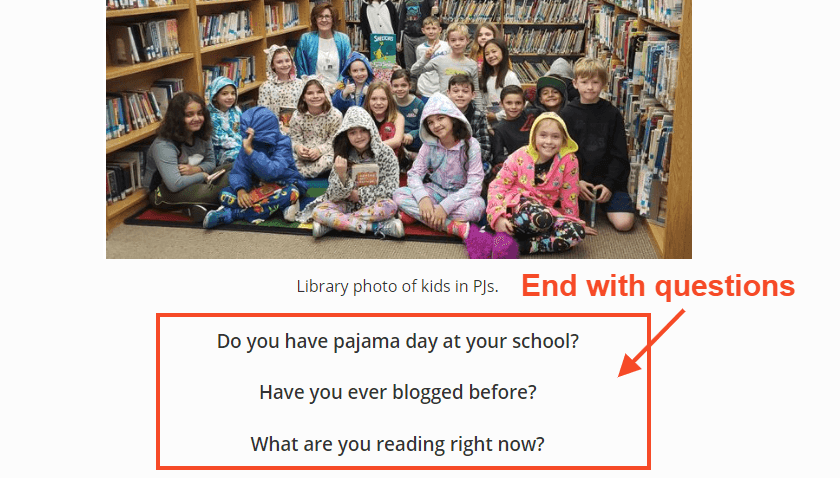
1) Survey your readers about school
Create a poll to survey your readers (Google Forms is a good way to do this or you could use a tool like Crowd Signal).
Alternatively, you could write some questions that you’d like readers to answer in a comment.
Your questions could be about:
- How people get to school (or work)
- School starting/finishing time
- School holidays
- School uniforms
- School subjects
- Anything else that interests you
Idea: when your survey is completed, you could share a summary of your findings. I love a tool called Beam for making simple charts.
Example: Emma made a survey using Google Forms.
2) Share your school day
Write about your school day or make a slideshow or video to explain it.
You might include things like:
- How do you get to school?
- What is your timetable like? Do you have set subjects at certain times?
- Do you have one teacher or many?
- What time do you begin and end school?
- Do you get to choose what you learn?
- What technology do you have at school?
Remember to explain abbreviations you might use e.g. LOTE, STEM, or ELA
Example: Kayden wrote about her favourite school subjects
3) Do some research
Do a little bit of research for a new post.
Here are some ideas:
- Research the history of your school and create an “About my school” page.
- Research a famous person who attended your school.
- How has schooling changed over the years? Interview parents or grandparents and ask questions about schooling. You could make a written interview, make a video, or make an audio recording (Anchor is a great tool for making audio recordings).
- Find out more about someone at your school who you don’t talk to very much. Maybe you could interview a student who is older/younger than you. Or you might interview your cleaner, crossing supervisor, canteen worker etc.
Example: Farrah asked her parents about how school has changed.
4) What happens at break times?
Tell us what you do at break time or what’s popular at your school.
You might write about:
- The food you eat at school. Do you take your own lunchbox or do you buy lunch? Include some photos if you can!
- What do you do at break time? Are there any popular games, sports, or activities at your school?
- What precautions do you have to take from the weather at break times? Hats? Sunscreen? Snowsuits? Is school ever cancelled or do you ever have to stay inside?
Example: Van Anh explained how to play a traditional Vietnamese game.
5) Describe your school grounds
Tell us a bit about your school grounds. You could even draw a map, or make a slideshow or video that gives readers a tour of your school.
- Is your school big or small?
- What sort of play areas do you have? Playgrounds? Fields? Courts?
- What special buildings do you have? A gym? A library?
Example: Mrs. Yollis class made this great school tour video when I worked on a project with her for International Dot Day.
6) Tell us about your special events
Does your school hold any special events? Maybe a fair or fete, a dress up day, a fundraiser, camps or school trips?
Share the details in a post!
Example: Jueun wrote about a sports event held in his district.
7) Compare your school with another
Find a video, photo, or article to shows what school is like in a different part of the world.
Feel free to use the resources I added above.
Write about the similarities and differences as well as the questions you’re pondering.
Alternatively, if you’ve been to more than one more school you might be able to compare them in a post.
Example: Yuyang compared his school experiences in China and Senegal.
8) Share your opinions about school
No doubt you have some opinions about school and we’d like to hear them:
- What’s your ideal school? You could even include a map of what it would look like.
- Share your opinion on uniforms, school starting times, homework, recess, or another controversial issue.
- What do you dream of doing once you finish school?
- If you were principal for a week, what would you do?
If you have any other ideas, that’s great! Write about anything that relates to schooling around the world.
Examples: Fran wrote about his plans for when he finishes school while Van Anh shared her opinions on school uniforms.
When You’ve Published A Post, It’s Time To Visit
An important part of this topic is to find out about some other schools. You never know what you might learn or who you could connect with!
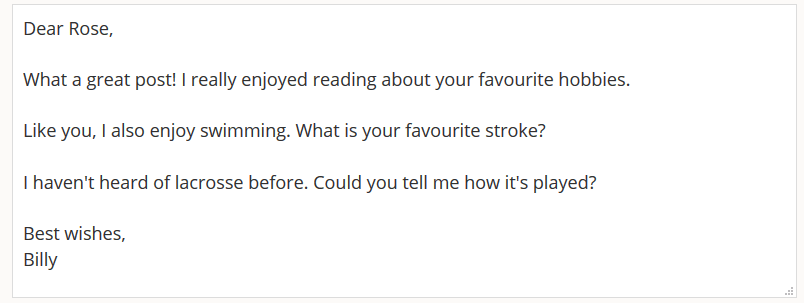
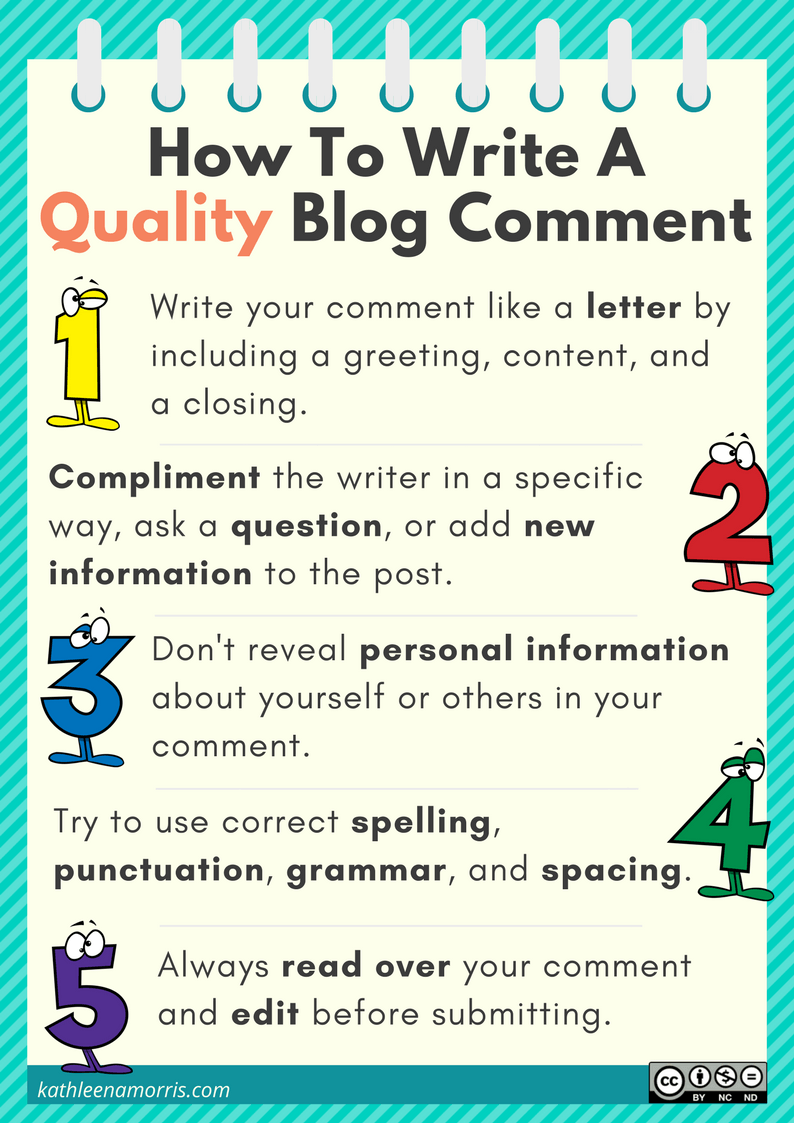
When you’ve finished your post, choose a couple of blogs to visit and leave a quality comment.
Remember to ask a question and check back to see if they replied to you (most platforms have a box to tick so you can get an email when there is a follow-up comment).
You will find the link to the week 5 participants’ posts on the sidebar of this blog on Tuesday.
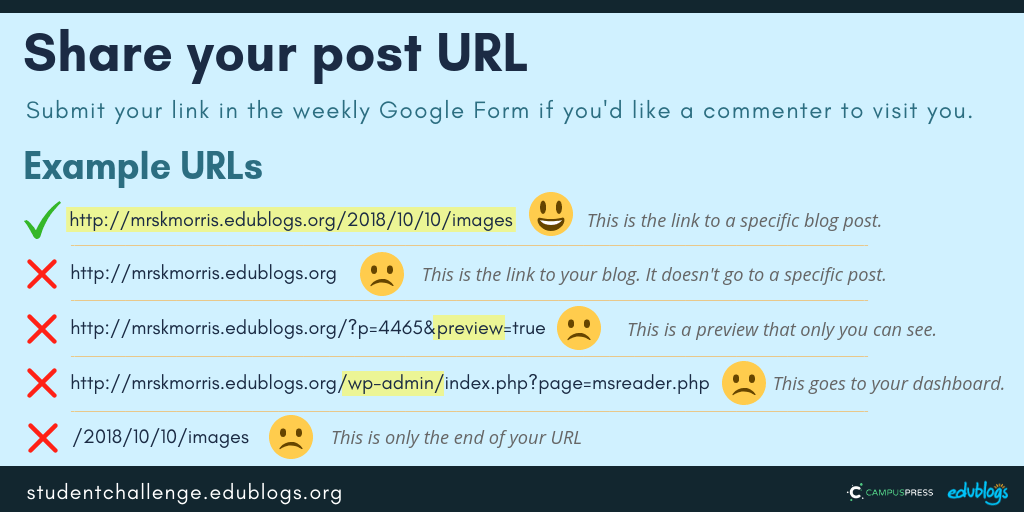
Submit Your Post URL ⬇
If you’d like a commenter and others to visit your post about school, fill in the form below.
This video shows you how to find your URL…
Note, this isn’t a real class blog. Just one I used for testing 😉
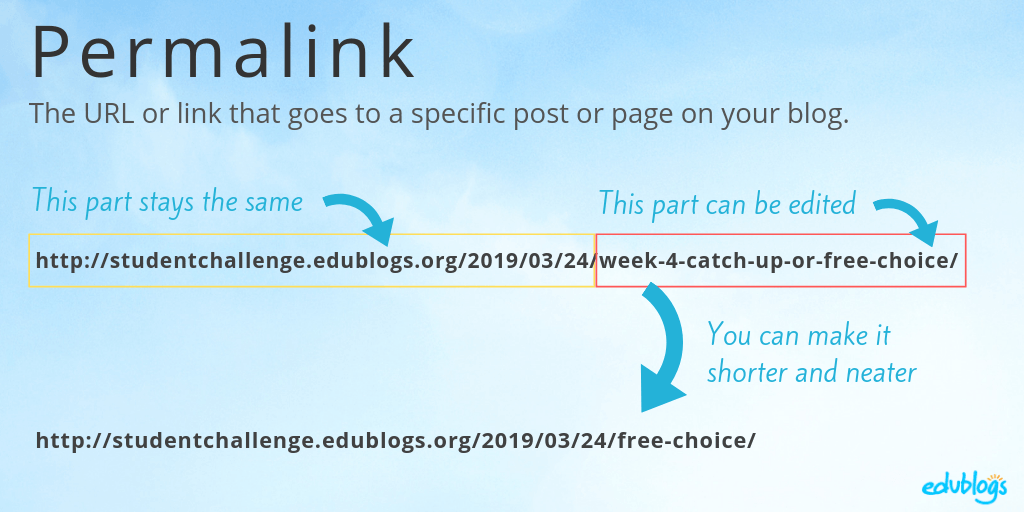
This graphic below should help you understand what a post URL looks like if you’re using Edublogs/CampusPress/WordPress
 The Google Form
Edit: Enter your details in the Google Form below or click here to open it in a new tab.
Teachers, feel free to put the Form URL on your class blog if it’s easier for your students to access.
https://forms.gle/mmEmLqDeMJfDvEmH7
Next week’s topic: Music 🎶


 Comment two